Landscape Lighting Considerations
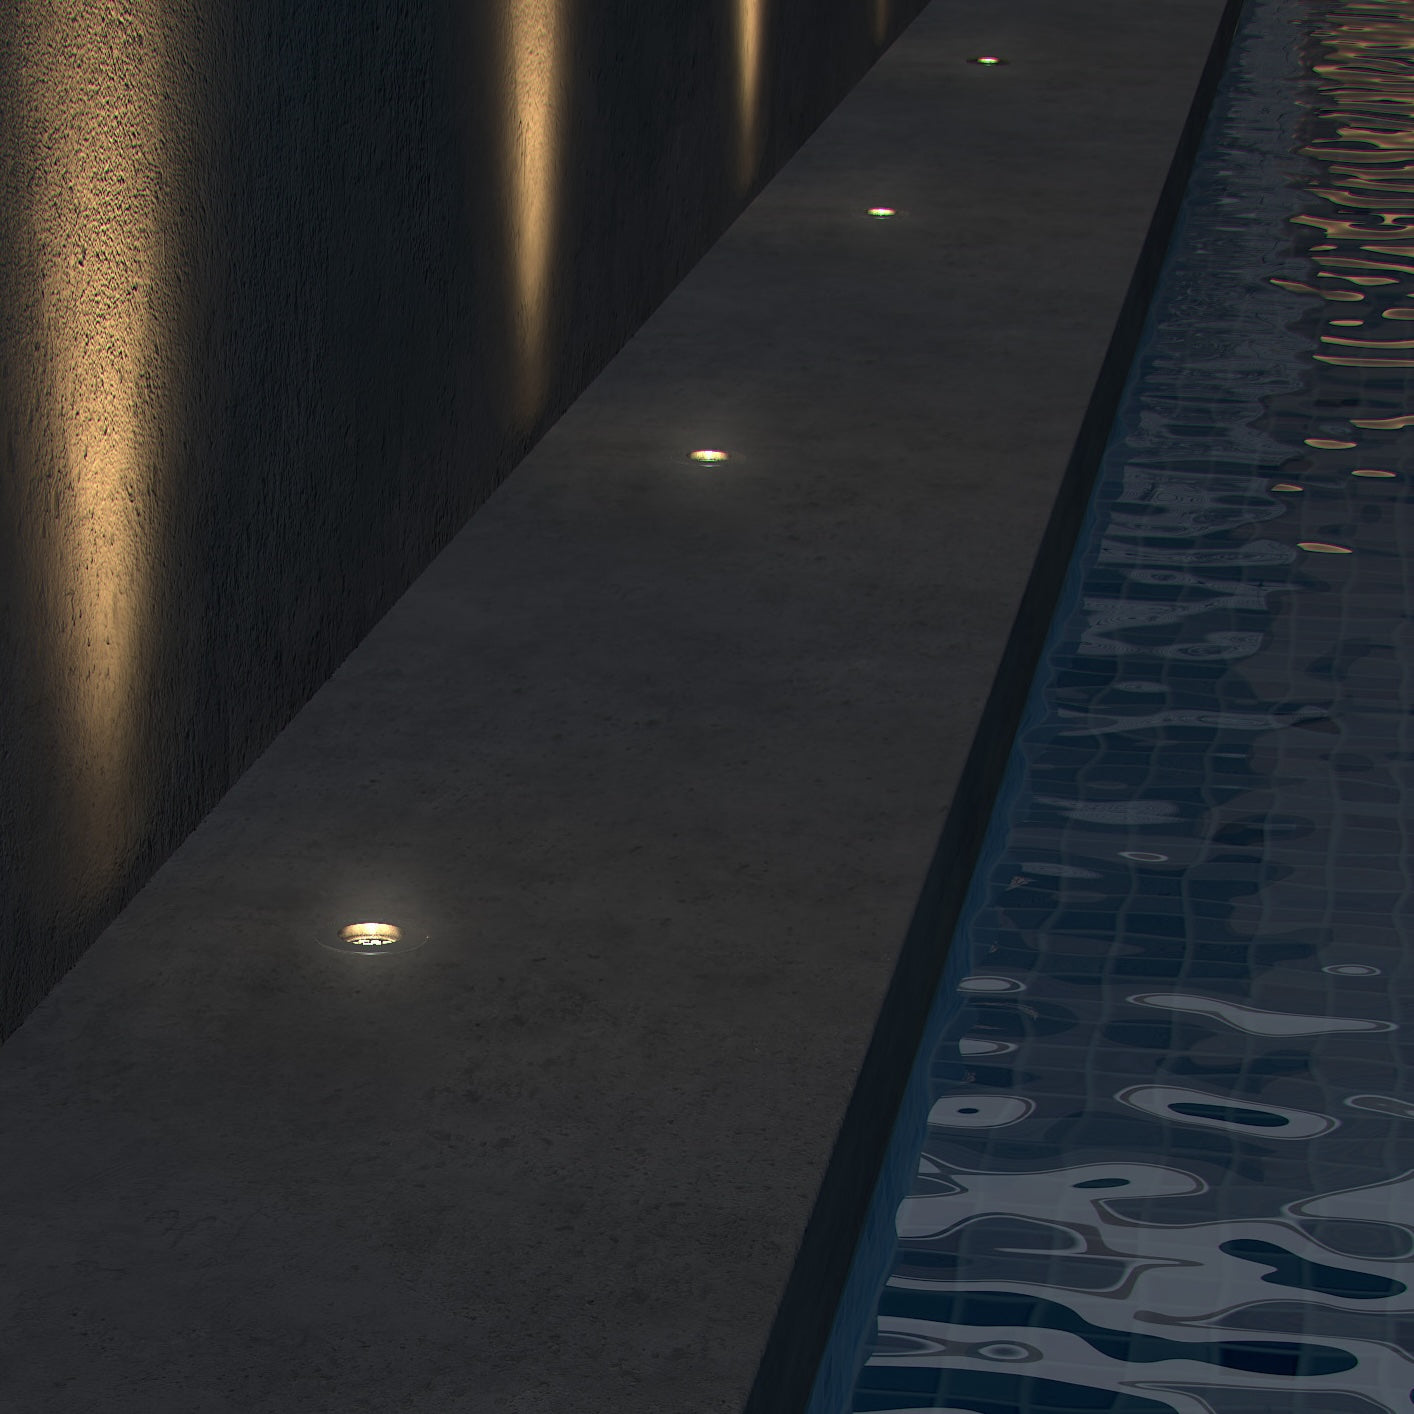
Installing recessed lighting in outdoor landscapes, such as gardens and patios, is an effective way to enhance both the aesthetics and functionality of these spaces. By providing subtle illumination, recessed lights can highlight key features, improve safety, and create an inviting atmosphere for evening enjoyment. Drawing insights from MP Lighting and other reputable sources, this guide offers a comprehensive overview of installing recessed lighting in outdoor settings.
Understanding Recessed Lighting in Landscapes
Recessed lighting, often referred to as in-ground or in-grade lighting, involves fixtures installed flush with surfaces like soil, concrete, or wood. This design ensures the light source remains unobtrusive, offering a clean and seamless look that integrates smoothly with the landscape. Such fixtures are versatile, suitable for various applications including illuminating pathways, highlighting architectural elements, and enhancing garden features.
Benefits of Recessed Lighting in Outdoor Spaces
1. Enhanced Aesthetics: Recessed lights can accentuate the beauty of gardens and terraces by highlighting plants, sculptures, or water features, adding depth and drama to the landscape.
2. Improved Safety: Illuminating walkways, steps, and driveways reduces the risk of trips and falls, ensuring safe navigation after dusk.
3. Space Optimisation: Being flush with the ground or other surfaces, recessed lights do not obstruct movement or detract from the landscape design, making them ideal for areas with limited space.
Key Considerations Before Installation
- Fixture Selection: Choose fixtures designed for outdoor use, ensuring they are waterproof and durable to withstand environmental conditions. For instance, MP Lighting's L360 outdoor in-ground LED fixture is tailored for paving stone applications and offers features like warm dimming and an optional anti-slip lens, making it suitable for public and commercial projects.
- Lighting Objectives: Determine the purpose of the lighting—whether it's for accentuating specific features, providing general illumination, or enhancing safety—to guide fixture placement and beam angle selection.
- Power Source: Decide between low-voltage (12V) and line-voltage (120V) systems. Low-voltage systems are often preferred for landscape lighting due to their safety and energy efficiency.
- Local Regulations: Check local building codes and regulations to ensure compliance with outdoor electrical installations.
- Consider Wildlife: Consider how wildlife may be affected. Bats in particular, being nocturnal, can be affected by light and upward beams should be minimised in sensitive areas.
- Control Systems: Consider how best to automate the lighting. Systems such as Casambi can be used to implement astronomical timers such that lights come on at, say, dusk and switch off at a determined time, say 10pm. Such timers track the time of year based on your location so do not need to be adjusted as the seasons change.
Notes on Installation
1. Planning and Design:
- Sketch a layout of your outdoor space, marking the desired locations for recessed lights.
- Consider the beam angles and spacing to achieve uniform illumination without over-lighting.
2. Ground Works:
- Critical to a successful installation of recessed exterior lighting is the ground works and the installation of back boxes in which the lights are to be installed.
- The best solution is to use a manufacturer's complete system such as those from MP Lighting. Every luminaire has an appropriate back box designed both for the light fitting and its intended application. Choosing the correct housing is essential to avoid future problems.
- Boxes need to be installed correctly and secured in place to avoid future movement or disturbance.

Example of a robust in ground installation box
3. Electrical Works:
- Installation of external lighting should be carried out by a qualified electrician.
- Drivers or power supplies need to be correctly located and accessible within waterproof housings. External housings need to have a weatherproof rating of at least IP66.
- All cable connectors should be gel filled to prevent moisture tracking within cables.
- All first fix electrical cabling work should be carried out preparatory to finished ground works and only when all ground works are complete should the luminaires be finally connected to the cabling.
- Luminaires fitted into underground boxes should be pushed into place with the correct number of seals and silicon paste for a watertight seal.
- Remember- if water can get in it will get in!
4. Testing and Adjustments:
- Connect the power and test each light to ensure proper operation.
- If using a control system add all luminaires to the system and program accordingly.
- Adjust the positioning or beam direction as necessary to achieve the desired lighting effect.
Maintenance Tips
- Regular Cleaning: Keep the lens of each fixture clean from dirt, debris, or plant overgrowth to maintain optimal light output.
- Inspect Seals: Where possible periodically check the seals and gaskets to ensure they remain watertight, preventing moisture from entering the fixtures.
- Monitor for Damage: Look out for signs of corrosion, cracks, or other damages, especially after extreme weather conditions, and replace fixtures as needed.
Integrating recessed lighting into your garden or terrace not only elevates the visual appeal but also enhances the safety and usability of the space during evening hours. By carefully selecting appropriate fixtures, planning the layout, and ensuring proper installation, you can create a captivating outdoor environment that can be enjoyed day and night. Always consider quality when buying exterior lighting. It will be more expensive initially but will last longer than lesser quality alternatives.


